How to make a classic Red Velvet Cake

|
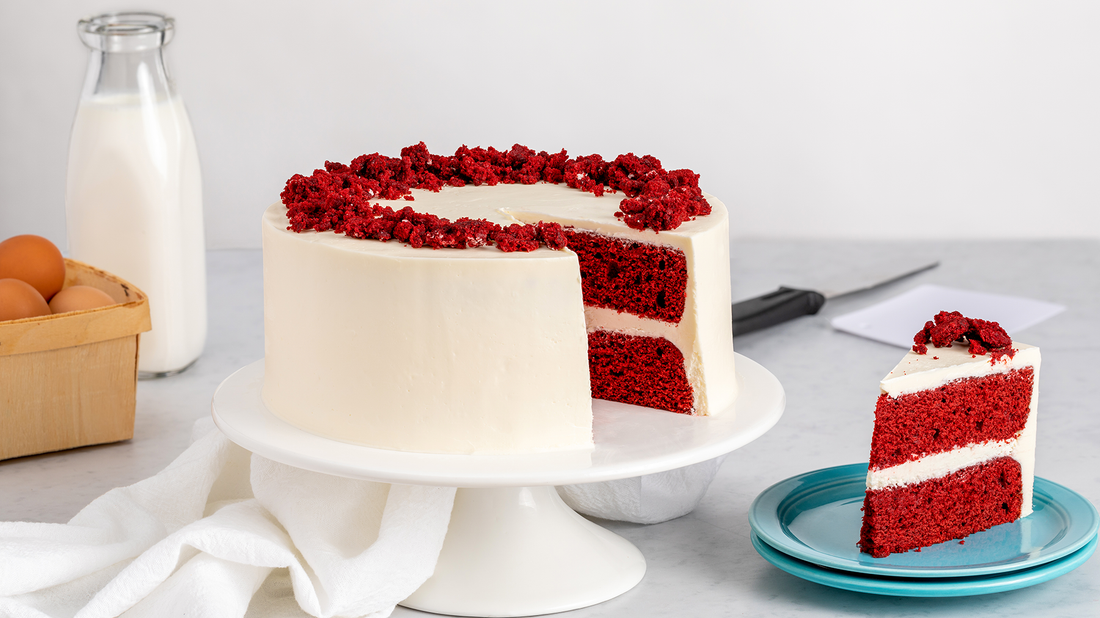
Red Velvet Cake is a timeless dessert that has captured the hearts and palates of cake lovers for generations. Its rich, moist texture and distinct flavor make it a crowd favorite, perfect for any special occasion or as a delightful treat to indulge in. In this blog post, we will guide you through a step-by-step recipe to create a heavenly Red Velvet Cake with a creamy cream cheese frosting. Get ready to embark on a culinary adventure that will leave your taste buds begging for more! |
Step 1
|
Preheat your oven to 350°F.
Grease two 8-inch cake pans with butter and line them with parchment paper rounds.
Dust the pans with flour to prevent sticking.
|


Step 2In a medium bowl, whisk together the flour, cocoa powder, baking soda, and salt.
In a separate bowl, combine the buttermilk, eggs, vinegar, and vanilla. |


Step 3Using a stand mixer fitted with a paddle attachment, cream the butter and sugar together on medium speed until light and fluffy, approximately 3 to 5 minutes.
While the mixer is running, beat in the flour mixture in three additions, alternating with the buttermilk mixture. Add the red gel food coloring and mix until just combined.
|


Step 4Divide the batter evenly between the prepared pans.
Bake for about 25 minutes or until a toothpick inserted into the center comes out clean.
Allow the cakes to cool in the pans for 10 minutes, then invert them onto wire racks and let them cool completely.
|


Step 5While the cakes are cooling, prepare the frosting. In the bowl of a stand mixer fitted with a paddle attachment, beat the cream cheese and butter on low speed until well combined.
Add the powdered sugar and beat until smooth. Increase the speed to medium-high and beat for approximately 3 minutes until the frosting becomes light and fluffy. Stir in the vanilla extract and salt until fully incorporated.
|


Step 6Once the cakes have cooled, create a flat surface by removing a 1/4-inch from the crown of each cake using a cake leveler or a knife.
Crumble the cake crown into a small bowl and set aside for later garnishing.
|


Step 7Place one cake layer on a 10-inch cake drum or serving plate and place it on a cake turntable for easier frosting.
Using an offset or straight spatula, spread 1 1/2 to 2 cups of frosting evenly over the top, extending it right to the edge of the cake. Carefully place the remaining cake layer on top, pressing gently to adhere.
|


Step 8Frost the top and sides of the cake with the remaining frosting, using the spatula to create a smooth and even finish. Garnish the top edge of the cake with the reserved cake crumbs for an elegant touch.
|


Step 9Finally, slice and serve this delectable red velvet cake to your eager guests who will undoubtedly be delighted by every moist and flavorful bite.
|


|
Congratulations! You've successfully embarked on a journey to create a homemade red velvet cake that looks as good as it tastes. The combination of tender cake layers, creamy cream cheese frosting, and a hint of cocoa creates a dessert that is nothing short of heavenly. Whether you're celebrating a special occasion or simply craving a treat, this classic red velvet cake is sure to impress. So gather your loved ones and indulge in this delightful dessert that has stood the test of time. Happy baking! |
Comments
No comments
Leave a comment
Your email address will not be published. Required fields are marked *
Related articles
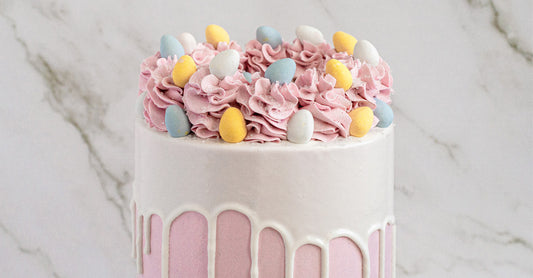
Easter Cake
The Easter Cake is a festive and symbolic dessert enjoyed during the Easter holiday season....
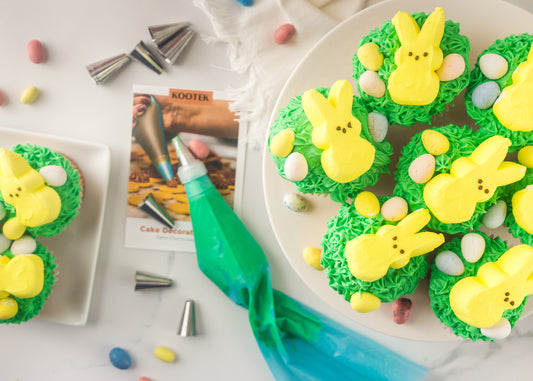
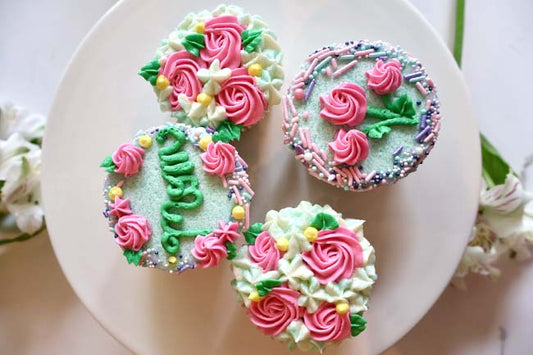
Easter Chick Cupcakes
Easter Chick Cupcakes are a delightful and festive treat that captures the essence of Easter....
- Choosing a selection results in a full page refresh.
0 comments